Ray Tracer
Following along with the book The Ray Tracer Challenge by Jamis Buck. This book is a follow along test-driven guide to creating a ray tracing 3D renderer, and I am following along in Rust.
A ray tracer works by casting “rays” away from the camera, bouncing off objects in scenes. These objects calculate the colour the ray should produce based on the properties of the object (e.g. is it reflective?, does it have opacity?, does it refract?, does it have a colour) and the lighting in the scene.
I have found this project to be fun because it has a visual element that you
created nearly from scratch yourself. At one point in this project’s life it
could only render files called .ppm files which are pixel by pixel images and
there was no library code. Now the only libraries I use in this project are:
image: Used to render jpegs of the rendered canvasescriterion: Used to benchmark the performance of the rendering (because it can be quite slow when there are a lot of pixels in an image)assert_approx_eq: Used to make fuzzy assertions on floating point numbersserdeandtoml: Used to read scenes and animations described in TOML files
The book is structured via tests. It guides you to write a test, then it asks you to get that test to pass (and often tells you how to make it pass).
    #[test]
    fn test_ray_intersects_a_sphere_at_two_points() {
        /*
           Sphere at origin, ray along the z
                                        x  x
                                     x        x
             o -------------------- A -------- B ---->
                                    x          x
                                     x        x
                                        x  x
            o: (0, 0, -5)
            A: (0, 0, -1)
            B: (0, 0, 1)
        */
        let ray = ray::ray(
            tuple::Point::new(0.0, 0.0, -5.0),
            tuple::Vector::new(0.0, 0.0, 1.0),
        );
        let sphere = shape::Shape::default_sphere();

        let intersections = ray.intersect(&sphere);

        assert_eq!(intersections.len(), 2);
        assert_eq!(intersections[0].t, 4.0_f64);
        assert_eq!(intersections[1].t, 6.0_f64);
    }
Because of this book structure you feel like you’re making gradual progress even in the early part of the book while you’re still working on foundations (which is where the test above comes from).
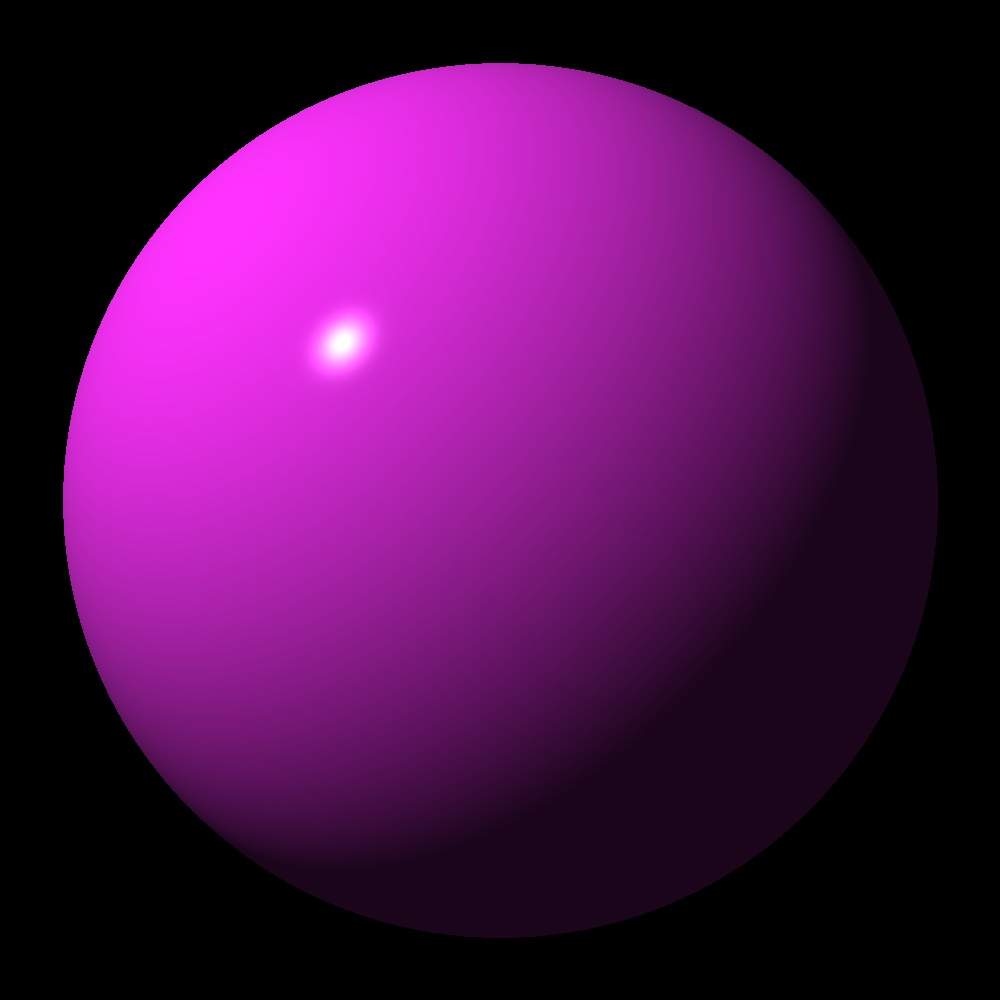
The pink sphere is the first object I rendered (by following the book of course). Here you can see the “three kinds of lighting” that computer graphics often uses to emulate realistic looking lighting: specular, diffuse, and ambient (here: the specular is the “reflection of the white lighting source”, the diffuse is the brighter pink, the ambient is the darkest pink).
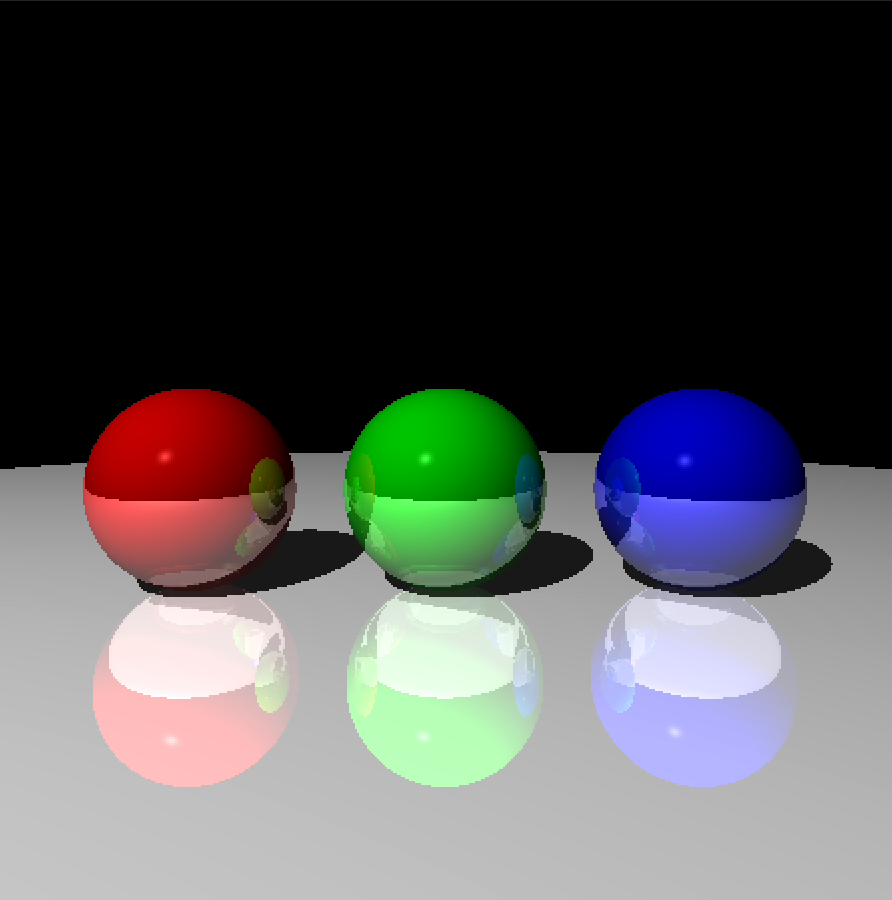
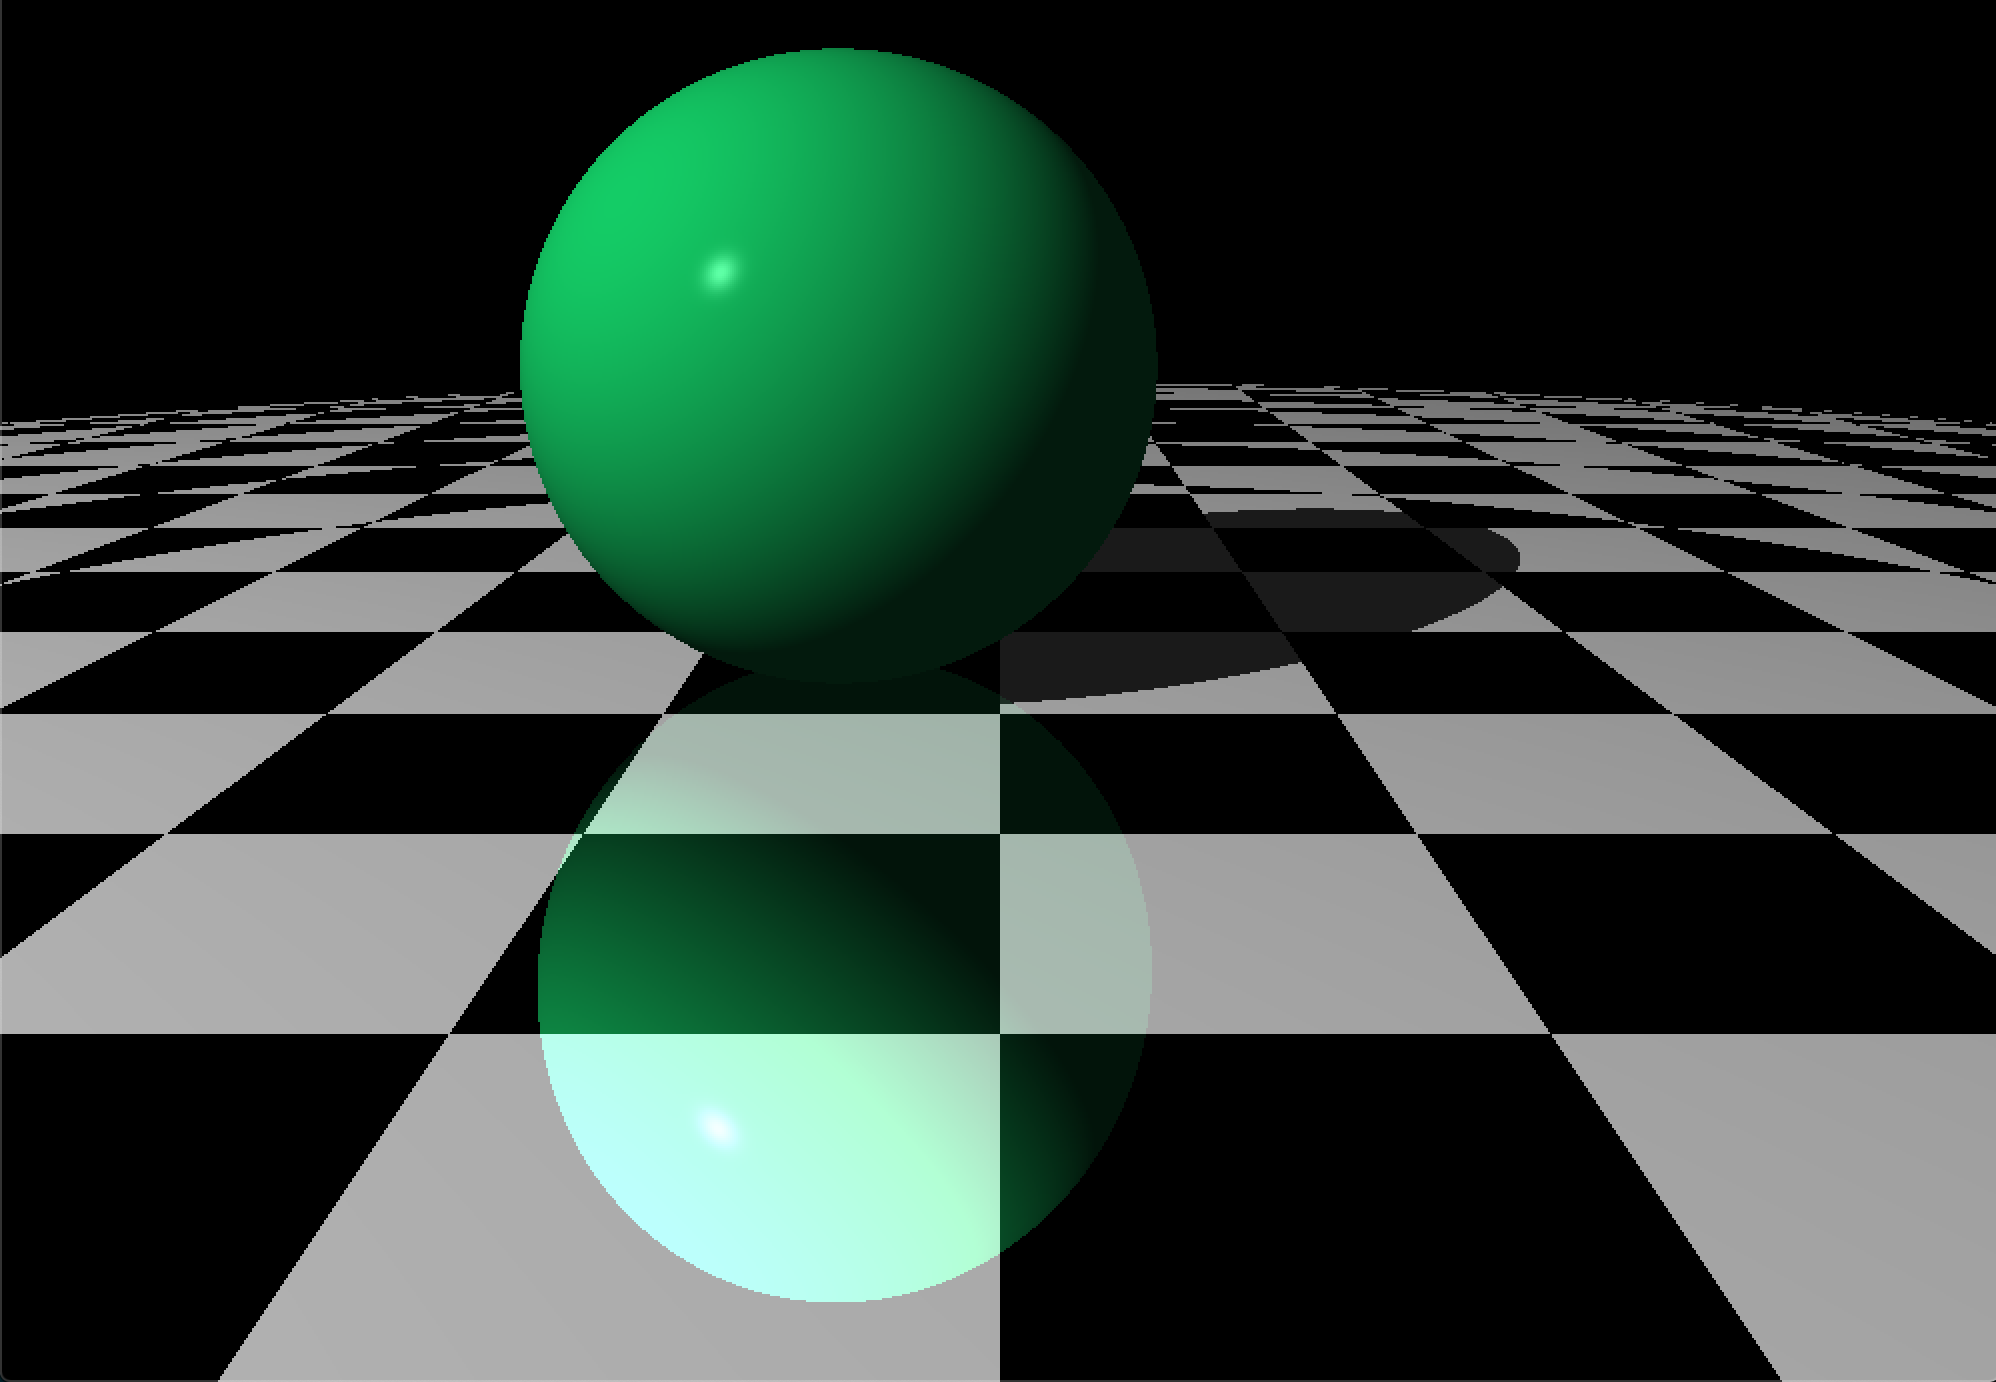
This scene shows rays bouncing between reflective marbles. Notice how the marbles reflect images of themselves in their neighbours. The image here has rough edges because the rendering wasn’t done at a “crazy high” resolution and the project currently has no antialiasing (which would minimize this effect).
One thing that I really like about what I have done with the project is that it has tests that work by rendering a scene and comparing it to a different image. The images used for these “end to end” style tests are displayed in the project’s readme
The project has come a long way since those first spheres. Beyond planes and
spheres it can now render cubes, cylinders and cones, groups of shapes, triangle
meshes imported from OBJ models, and objects combined with constructive solid
geometry (CSG). It also gained texture mapping (including a skybox), area lights
that cast soft shadows, and bounding volume hierarchies to keep all of that fast
enough to render. Scenes no longer have to be described in Rust either: a
render binary reads a scene from a TOML file and writes a PNG, and an
animate binary turns a TOML animation into a sequence of frames. The
project’s readme has a
gallery of what it can
render.
This started as a follow-along of the book, and I’ve since worked through the later chapters — cubes, cylinders and cones, groups, triangles and OBJ models, and on through constructive solid geometry (chapter 16). Even so, it remains an ongoing hobby project that may never be formally “done”: there are always more bonus chapters to try, more scenes to render, and more Rust to learn along the way.