RGB Traveling Salesperson Art
This is a creative project that I am very proud of and isn’t software. Traveling Salesperson is a problem when “given a list of cities what is the shortest distance between them”. The lines generated this way have a nice quality where they very rarely intersect. This means that you can create a stippled version of an image and create an image that looks like a single line version of the original image. I used this approach on a colour component version of an image and produced an image that I eventually plotted using an XY pen plotter.
Software
The software that I use for creating the stippled svgs that can be sent to the plotting software is StippleGen by Evil Mad Scientist Laboratories.

This is a program written using the Processing framework and it allows for a few different controls. The primary control to play with when creating an svg suitable for plotting is the number of stipples desired. The program has two phases:
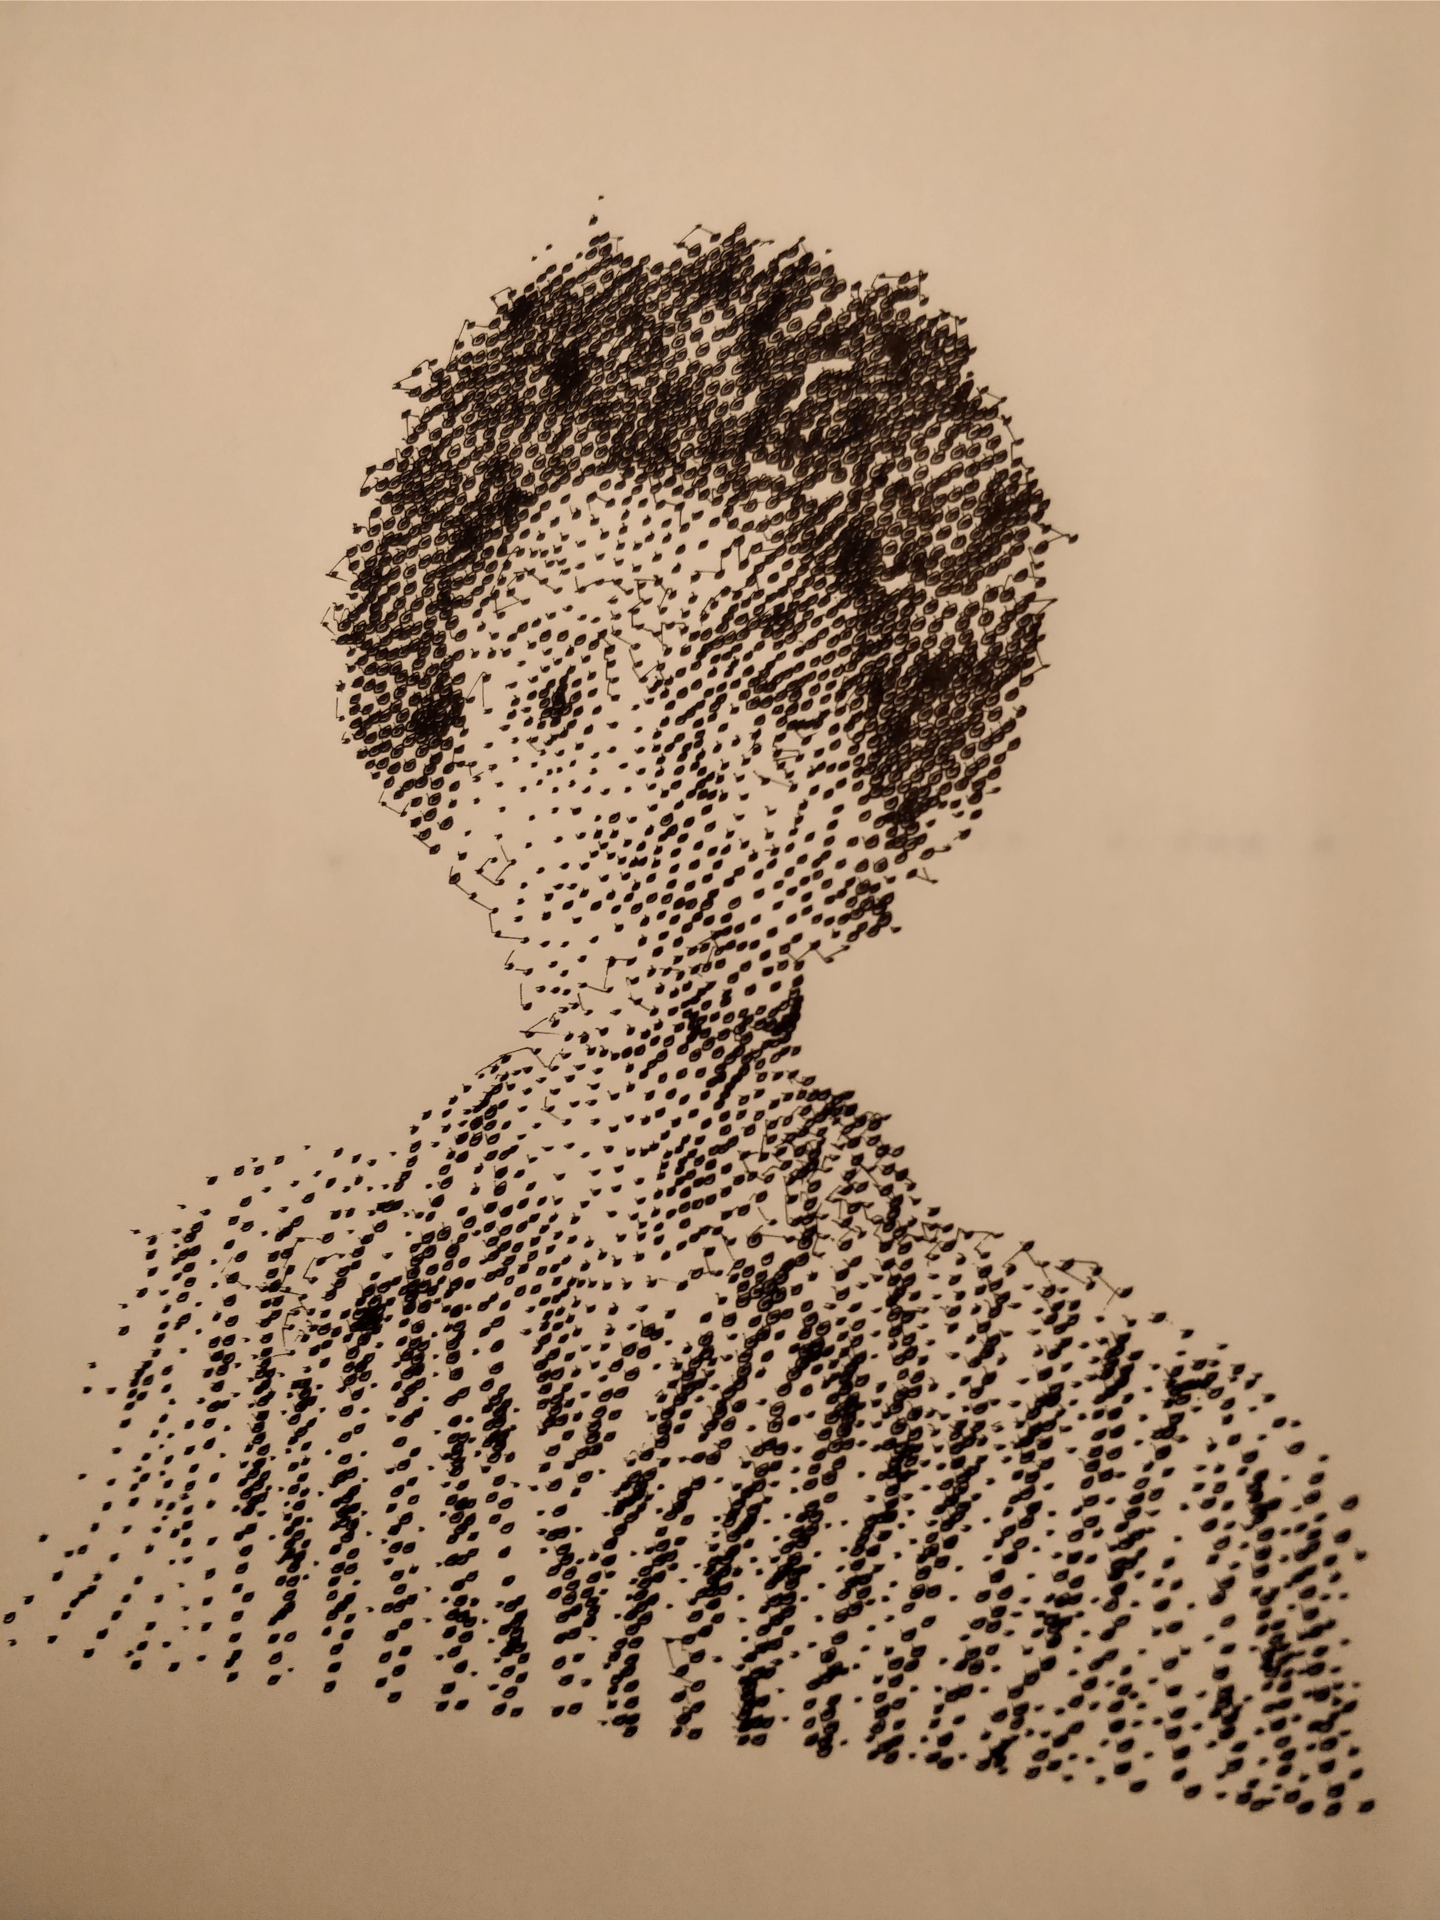
- It stipples the images (renders a likeness of the original image using only points)
- It uses those points as cities in a Traveling Salesperson route
After the program is done it allows you to save a svg of either the stipples
or the route between stipples.
Plotter
The plotter that I am using is a MakeBlock XY Plotter Robot
Kit.
This plotter
comes with some software called mDraw which I used to control the plotter
from a computer.
The plotter has some problems. The software struggles sometimes to error when importing some svgs, but will instead silently error. The plotter’s pen mechanism can be finicky.

RGB art
You made an RGB image by using some image editing software to split the image into different bands of colours (I suppose it doesn’t need to be Red, Green, and Blue if you have an image that has some specific highlight colours).
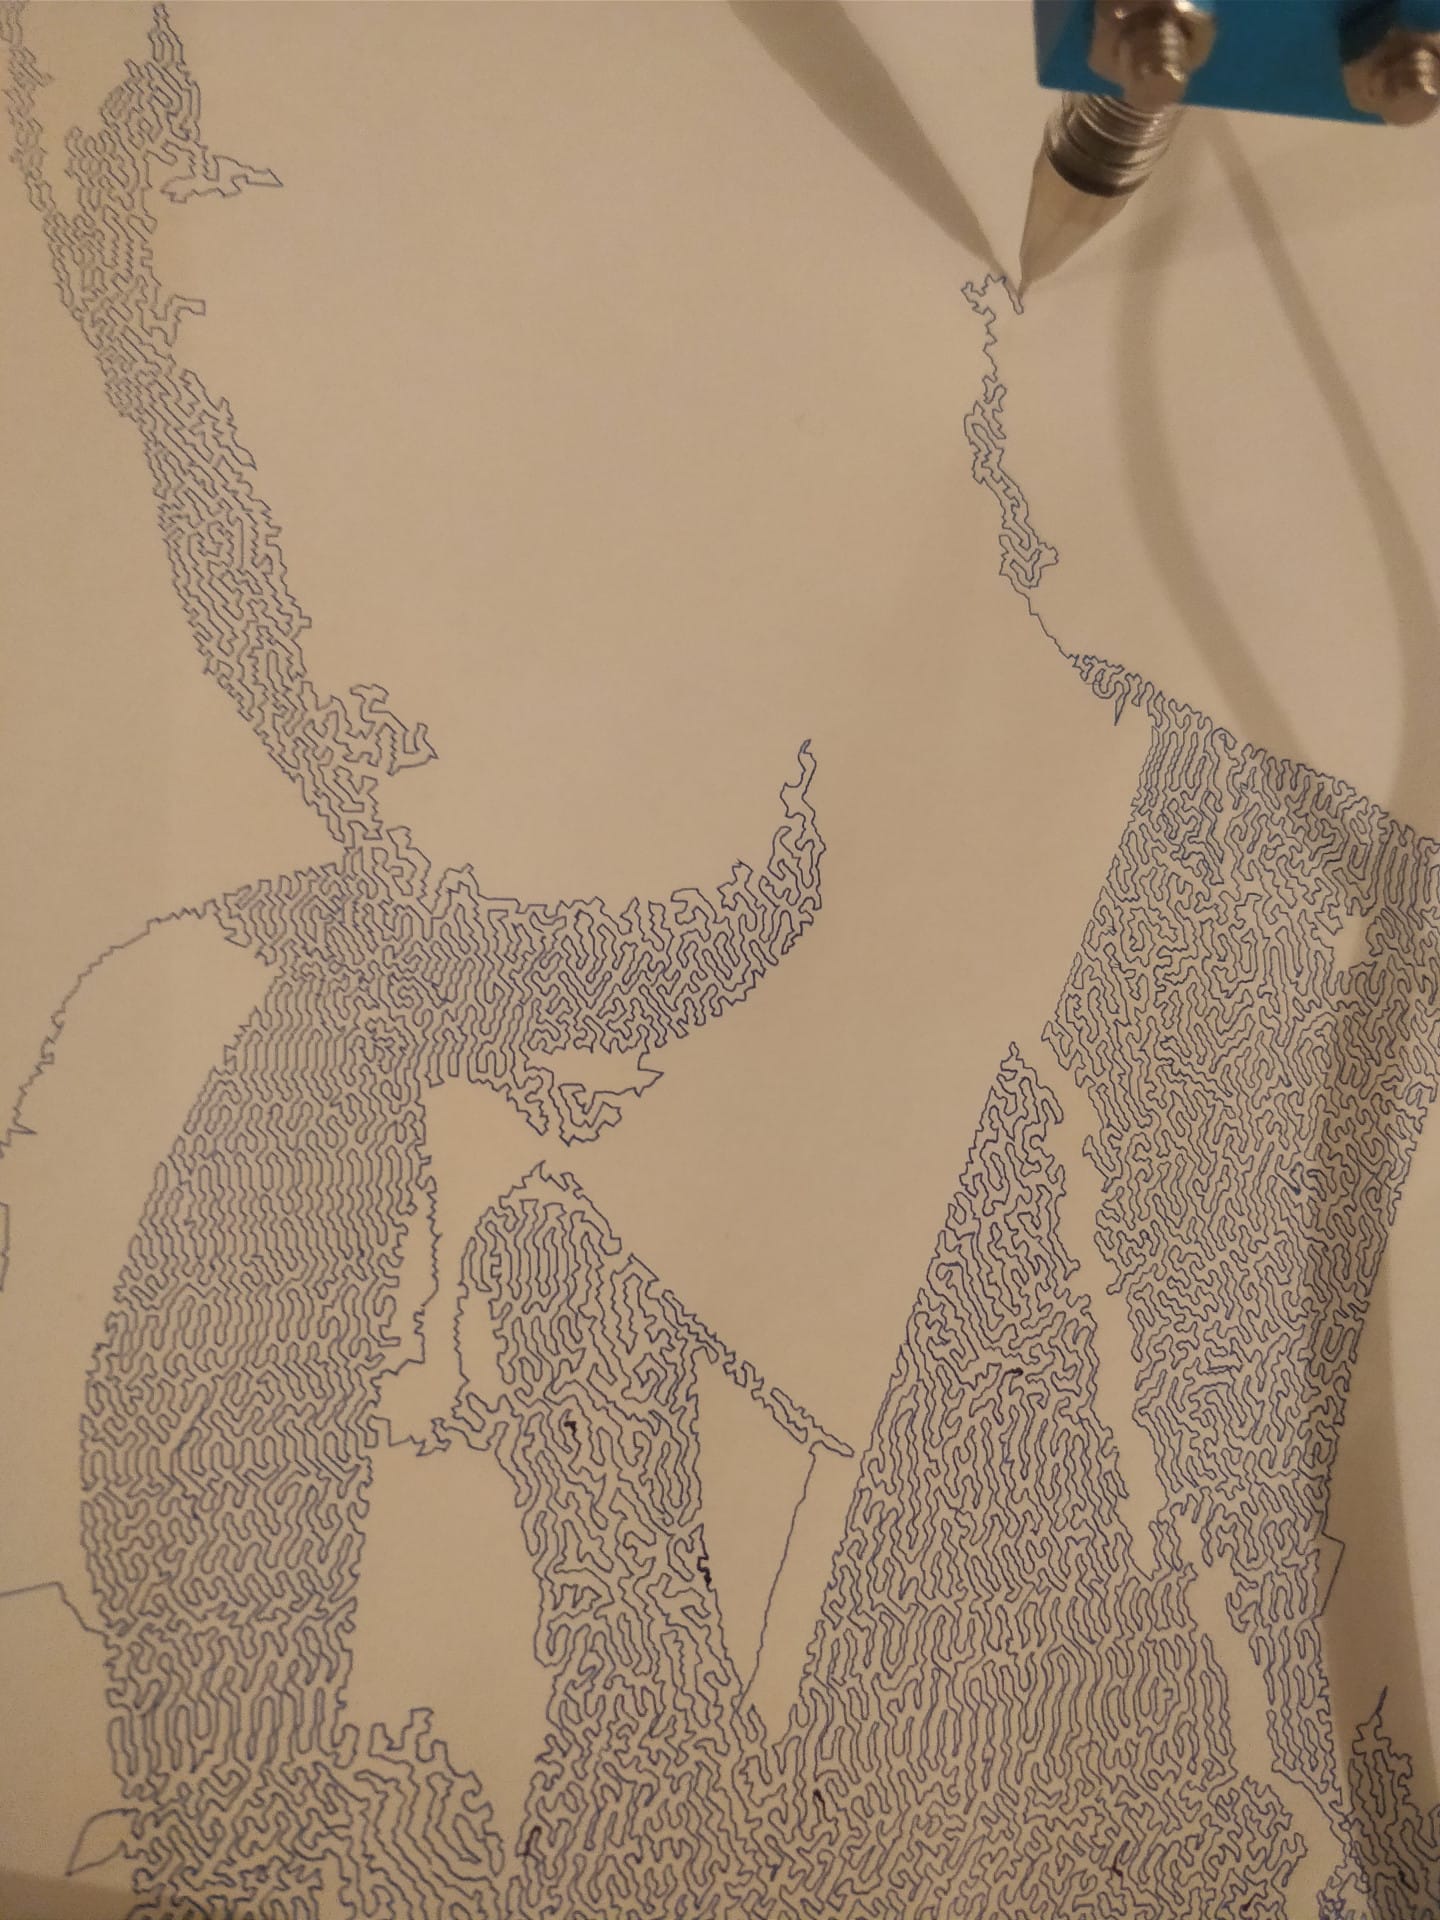
I started with a picture of myself at my sister’s wedding (this was pretty much the last time I didn’t have a beard). I split it and then put a blue pen in the plotter:
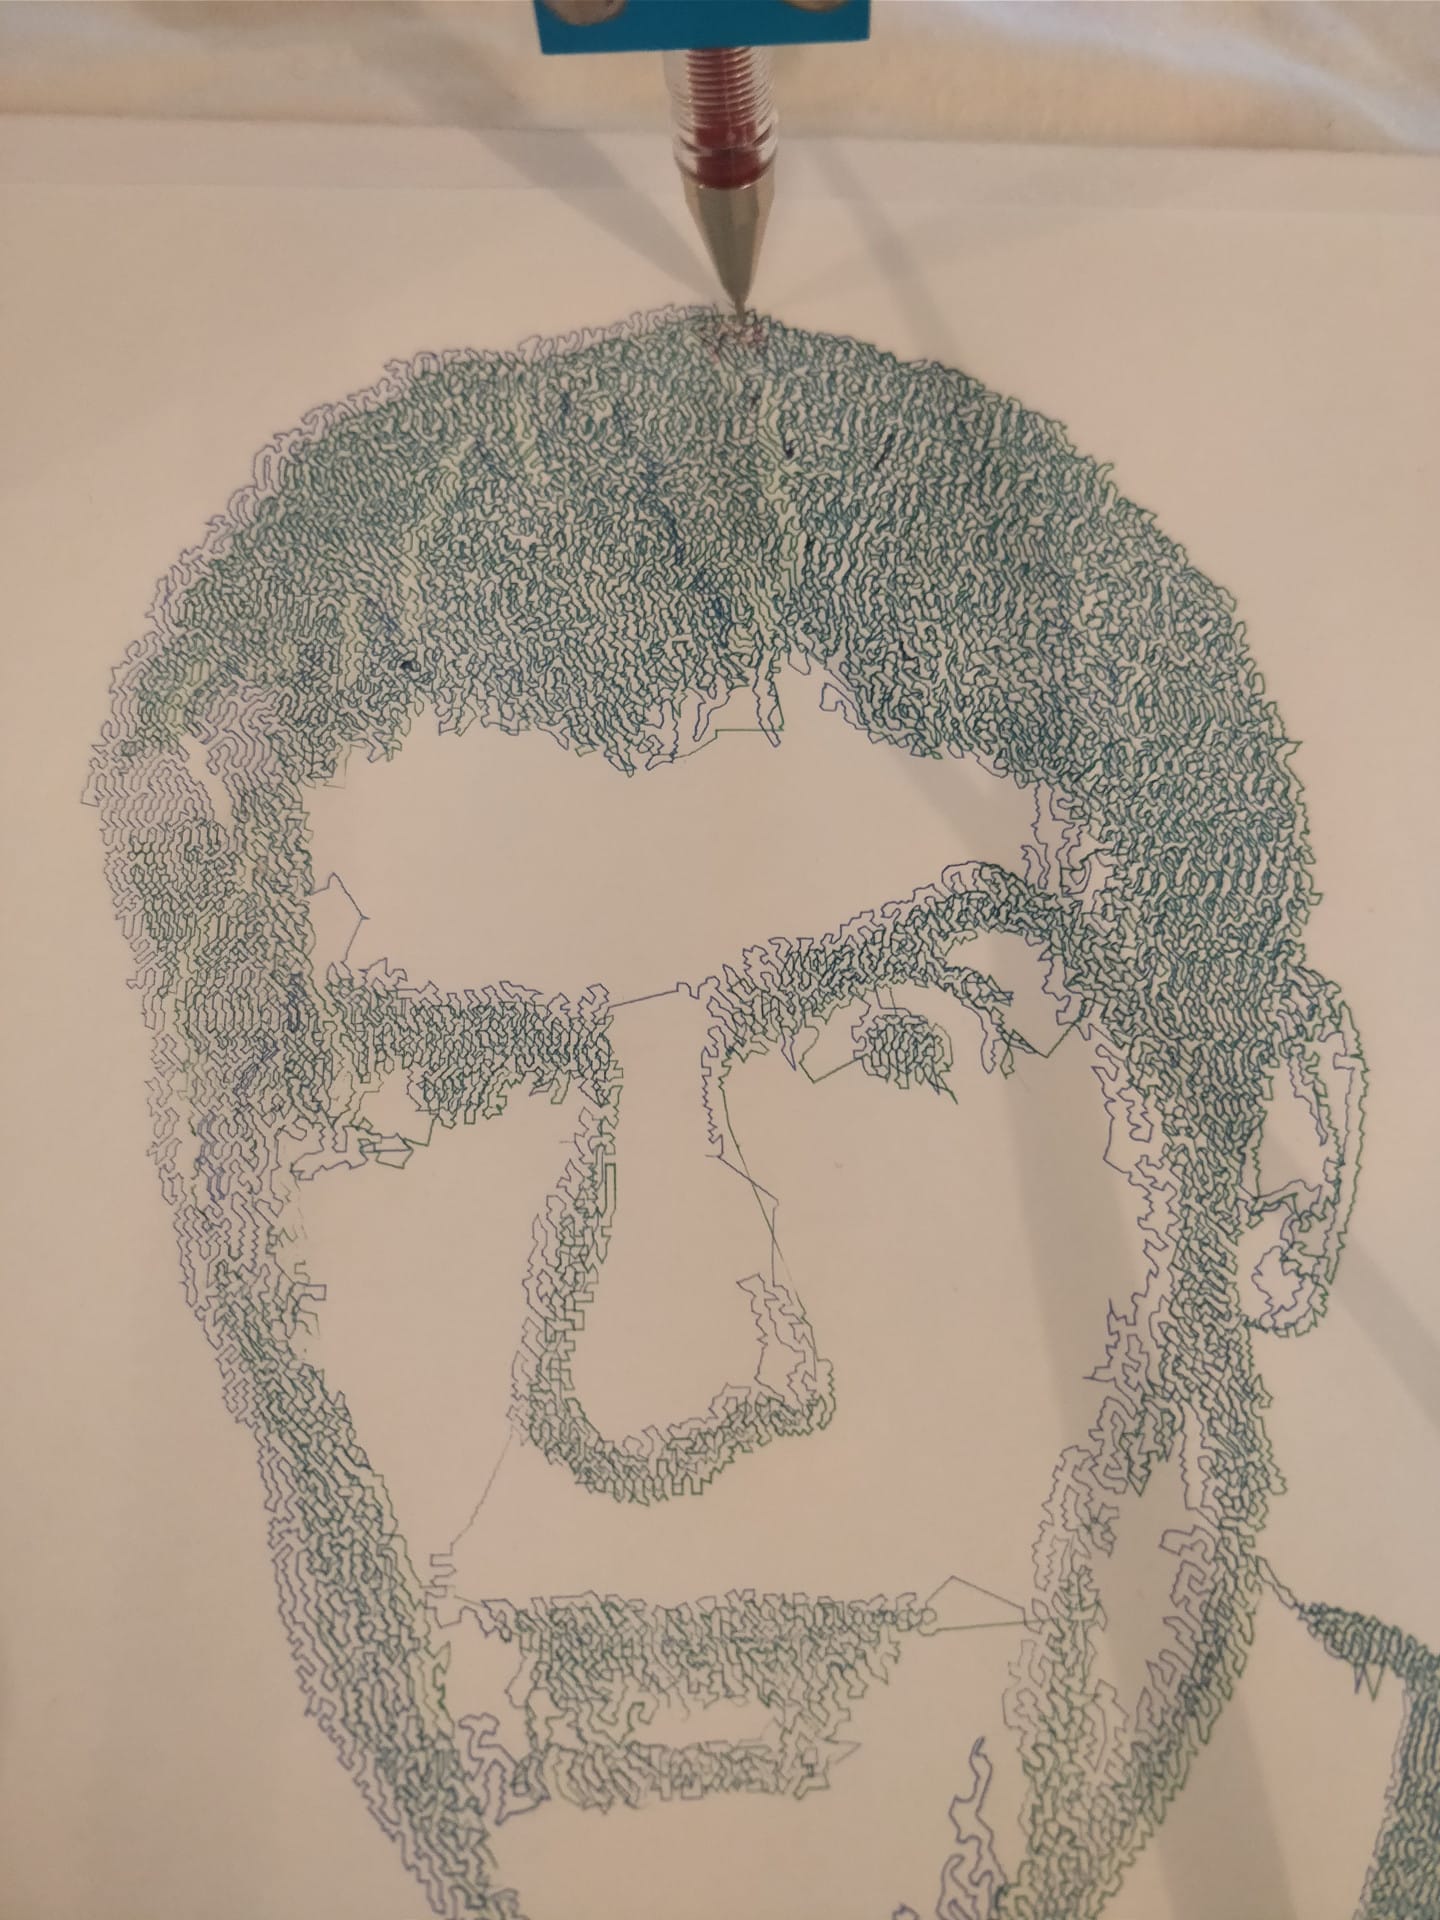
Then after it finished I put a green pen in the plotter and drew the green layer:
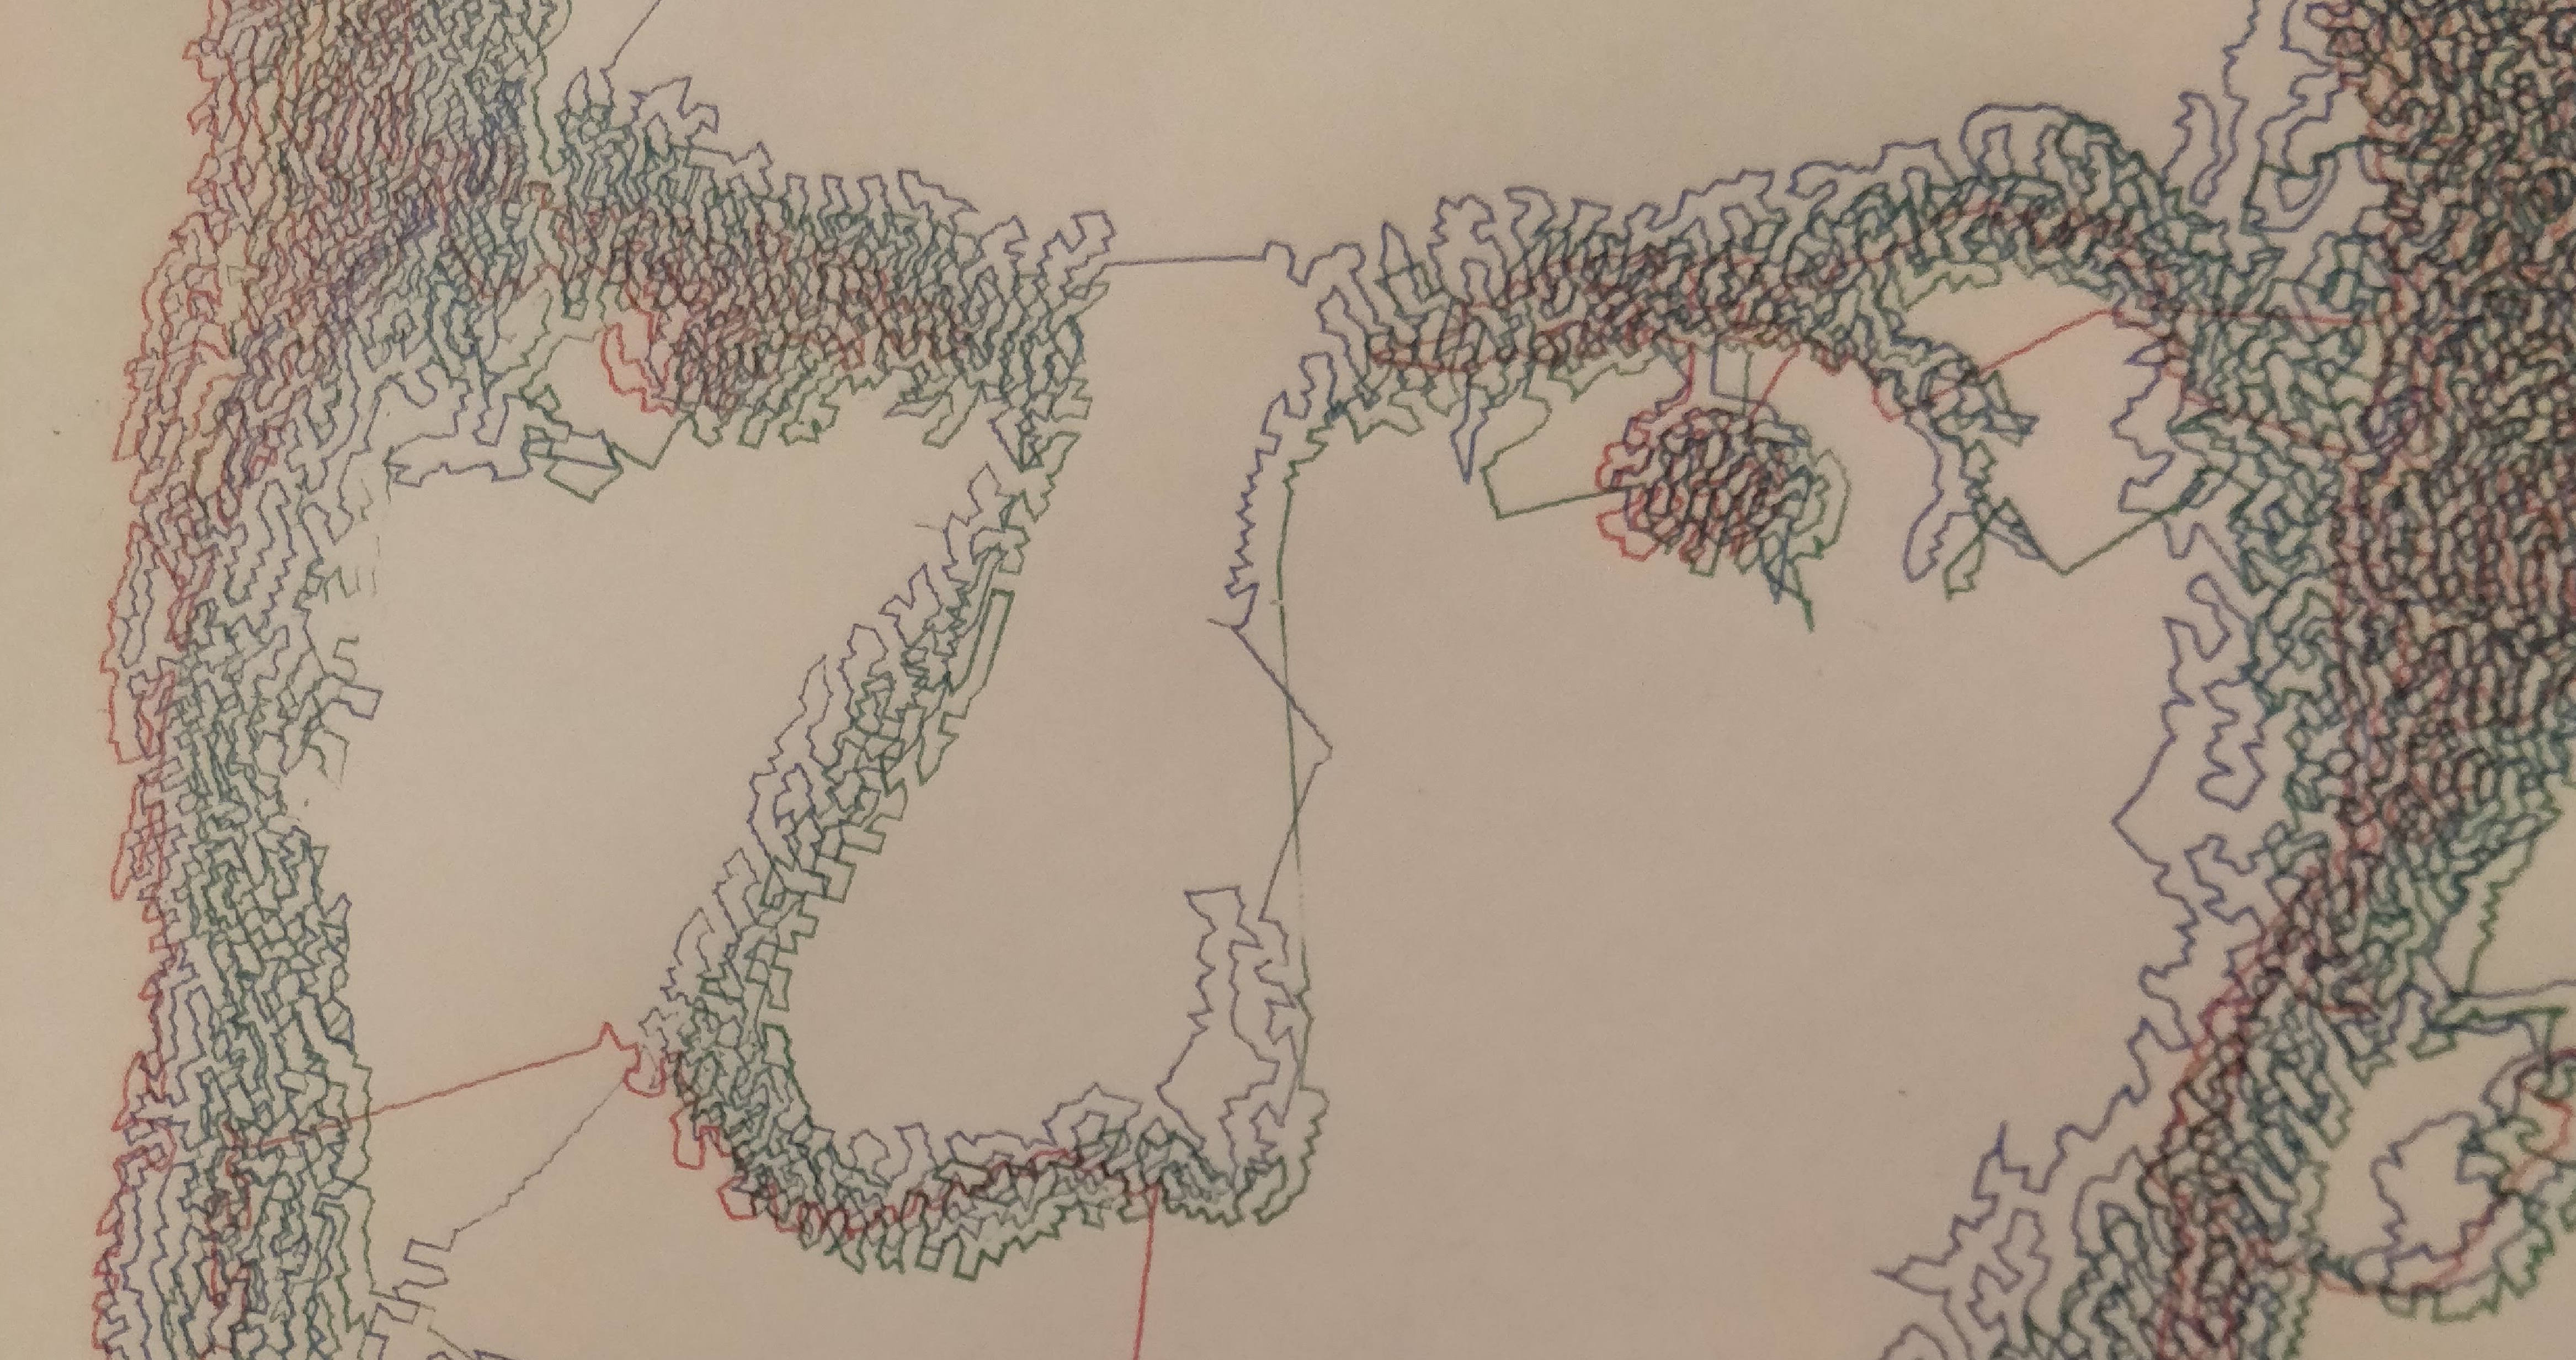
Finally we draw the red layer:
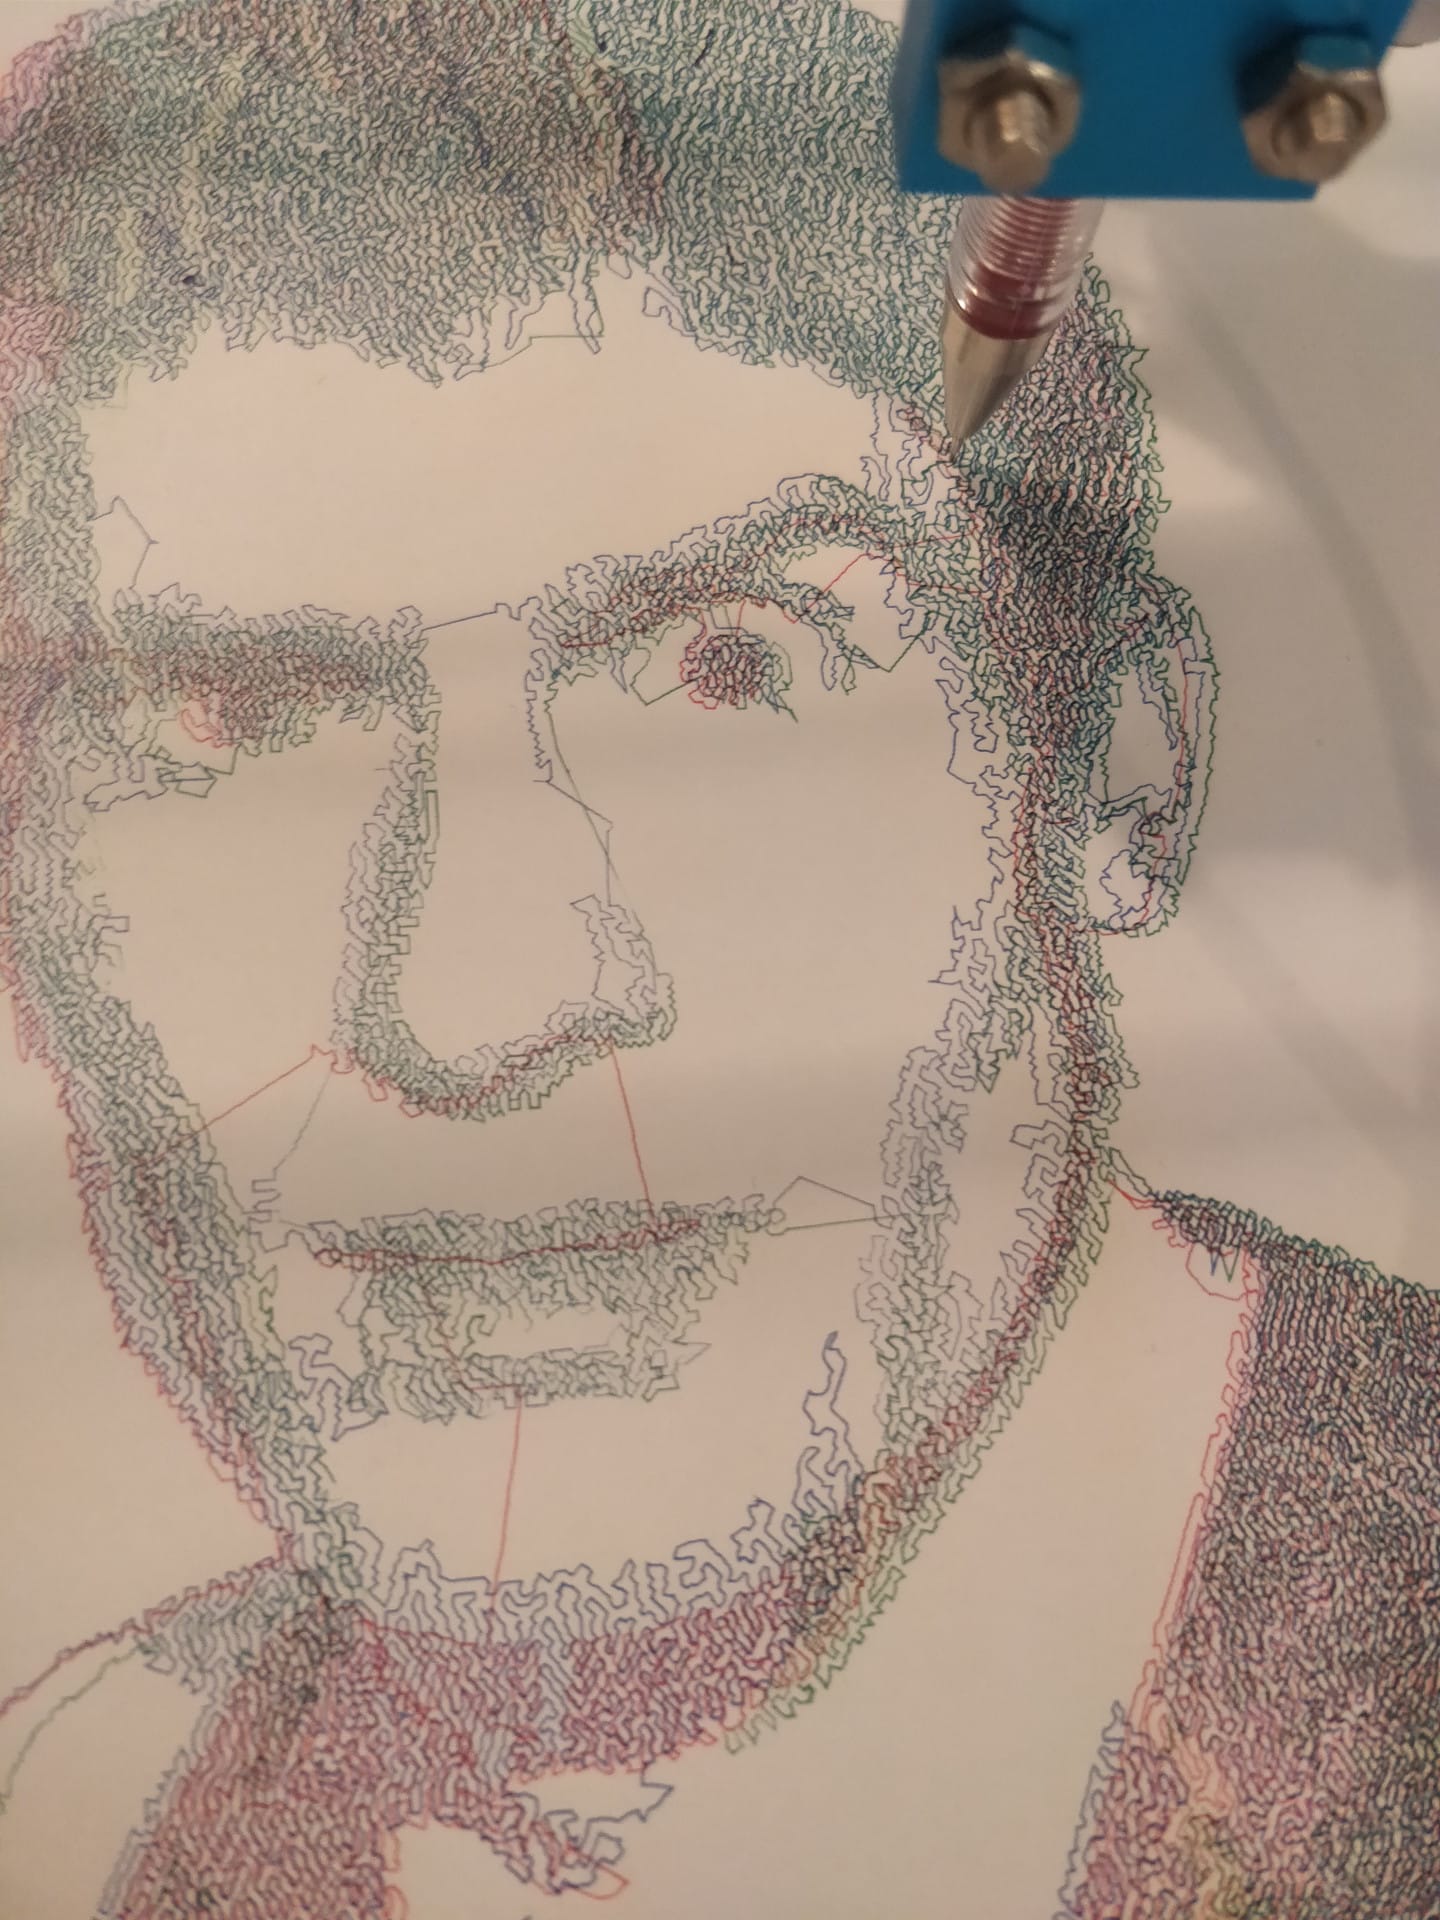
It’s a very manual and messy process to run the plotter and get the layers on top of one another nicely. But when it works it’s very rewarding.